





How to Measure a Kitchen for Cabinets: A Step-by-Step Sourcing Checklist

A beautifully manufactured cabinet still looks wrong if it arrives half a centimetre too wide for the wall it was meant to fit. Measurement errors are the single most common cause of delay and rework in kitchen sourcing projects, and almost every one of them is preventable with a disciplined site survey. This checklist walks through the measurements a Chinese factory actually needs, the tools that produce reliable numbers, and the way to package the data so the production team can start cutting panels without asking follow-up questions.
Tools you need before you start
Do not attempt a survey with a pocket tape alone. The reliable kit is a five or eight metre steel tape, a laser distance measurer accurate to two millimetres, a large square or combination square for corner angles, a spirit level at least 600 millimetres long, and a digital camera or phone. Add a note taking template, either printed or on a tablet, that follows the wall-by-wall order described below. Measuring under good daylight matters too, because shadowed corners hide uneven walls that daylight reveals.
Wall-to-wall, floor-to-ceiling, and the corners
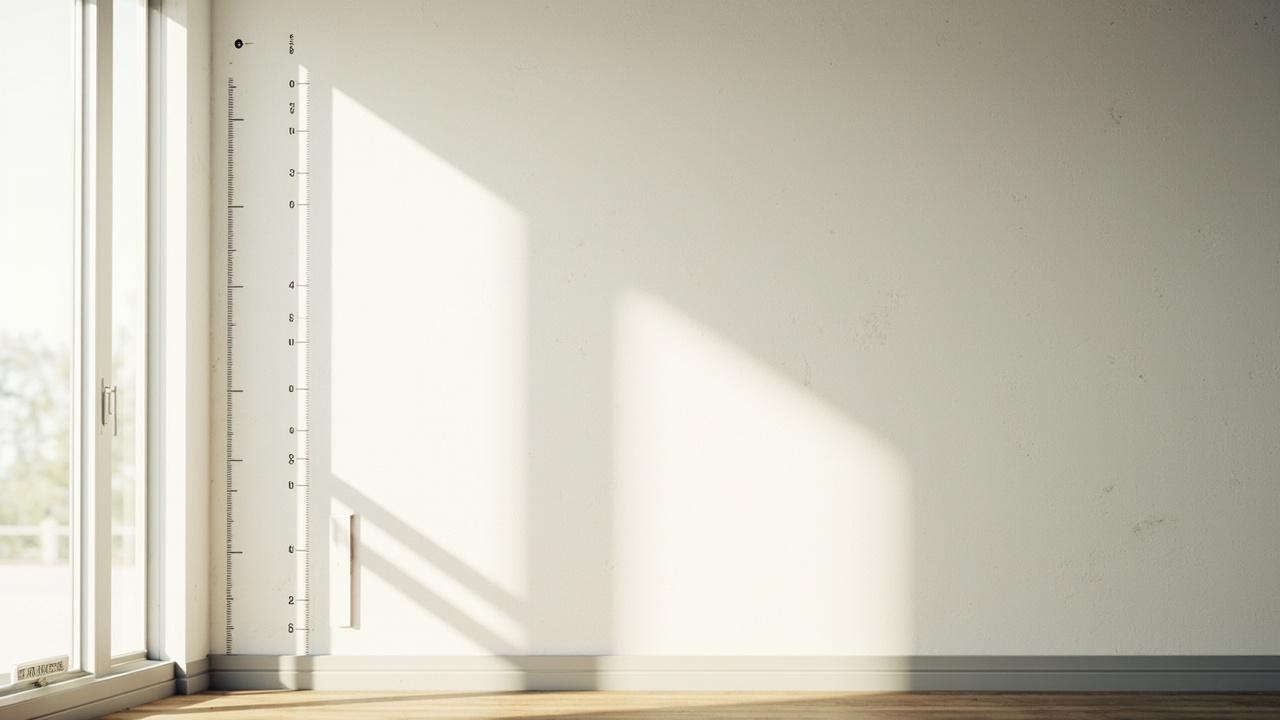
Start by measuring every wall at three heights: skirting level, worktop level (about 900 millimetres up), and the underside of the ceiling. Walls bow, taper and lean, so a single reading is never enough. Record the length of each wall, the height from finished floor to ceiling, and the angle of every corner, which a square will confirm is genuinely 90 degrees or slightly off. Mark any corner that is out of square by more than five millimetres across 300 millimetres, because the factory will need to scribe a filler panel for that spot. Note door and window openings, including the frame thickness, the sill height and the swing direction of every door.
Services, appliances and obstacles
Every item that penetrates a wall or sits against it must be located and dimensioned. For plumbing, record the centreline of each water supply and waste pipe from the nearest corner, plus the height of the pipe off the finished floor. For electrical points, measure to the centre of each socket and switch and note the height. For gas, record the valve position and the direction the pipe runs. For appliances, write down the brand, model, exact width, depth, height, and whether the unit is freestanding or built-in. Fixed obstacles such as structural columns, radiators, bulkheads, soil stacks and ventilation ducts each get their own sketch with three reference dimensions so the factory can cut around them precisely.
Packaging the data for a Chinese factory
A wall of numbers on its own invites mistakes, so convert the survey into a clean drawing. Use a top-view sketch for each wall with dimensions in millimetres (the unit every Chinese factory works in), a separate elevation drawing showing heights, and a photo of each wall taken straight on. Add a service schedule that lists every pipe, socket and appliance with its coordinates, and an appliance data sheet with the model numbers. Send the package as a single PDF plus the original photos, and ask the factory to return a signed layout confirmation before production starts. A factory that accepts the survey in writing has committed to those numbers, and any later dispute can be resolved against the signed record.
Allow a ten millimetre tolerance on every overall dimension so the installer can scribe the final panel on site, and never delete a measurement just because it looks wrong; verify it twice instead. A survey done this way takes about two hours for a typical apartment kitchen, and it is the cheapest insurance a project buyer can buy against a container of cabinets that do not fit.